
Gravity Forms is a premium WordPress plugin that allows you to build and embed any type of form on your site. From basic contact forms to fancy surveys, it’s known for being super secure, reliable, and packed with features.
In this post, we’re diving into the ins and outs of adding Gravity Forms to your WordPress setup. Whether you’re a WordPress pro or just starting out, let’s make embedding forms simple with Gravity Forms!
Table of Contents
Benefits of Using Gravity Forms for WordPress Website
Rich Features
Powering more than 5 million websites across the globe, Gravity Forms offers all the features that you need in a form plugin. Its features include:
- Seamless integration with popular third-party applications
- AJAX form submit
- Advanced field types
- Email notifications
- Conditional logic
- File uploads
- The ability to import and export forms
Powerful Add-Ons
What sets Gravity Forms apart is its extensive collection of add-ons. These extras take your forms to the next level by seamlessly integrating with well-known services like PayPal, MailChimp, and more. Essentially, you can expand your forms’ capabilities, tailoring them precisely to your users’ needs.
User-Friendly Experience
Gravity Forms takes the complexity out of form building with its accessible, secure, and reliable features. The user-friendly interface and seamless integration options make it easier to create forms that align perfectly with your website’s requirements.
How to Add Gravity Forms to WordPress
Adding Gravity Forms to your WordPress site is simple but for that, you need to purchase and install the Gravity Forms plugin first.
Here’s what you need to do:
1. Purchase: Go to the Gravity Forms website and choose a pricing plan that suits your needs.
2. Download: Download the plugin file and save it to your computer.
3. Install and Activate the Gravity Forms Plugin: First, install and activate the Gravity Forms plugin on your WordPress site.
- Login to your WordPress dashboard.
- Go to Plugins > Add New.
- Click the “Upload Plugin” button and select the plugin file you downloaded.
- Click the “Install Now” button and wait for the plugin to install.
- After the installation, click the “Activate” button to activate it on your website.
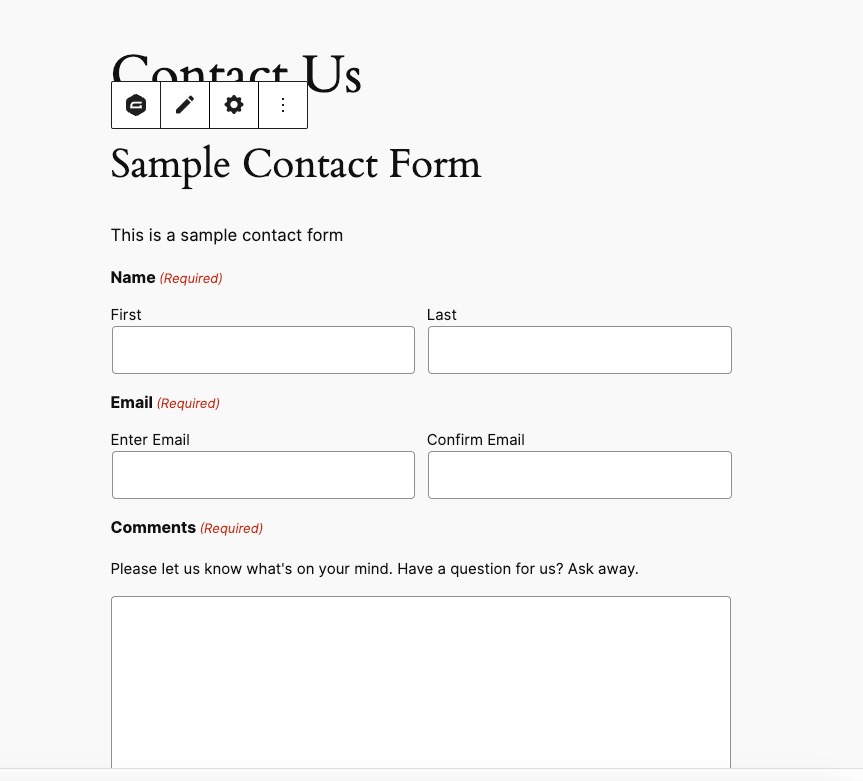
4. Create a Form: Now, create your first form.
- Navigate to ‘Forms’ in your WordPress dashboard.
- Click the ‘New Form’ button.
You can start with a blank form or use a pre-made template.
5. Add Form Fields: Use the drag-and-drop editor to add and configure the form fields as required.
6. Save the Form: Once you have added and configured the fields, click “Update” to save the form.
How to Add a Gravity Form in WordPress Website
Once you are done creating a form, the next step is to embed it on your WordPress site. There are a few embedding methods. You can choose the one you find easy.
Here you go:
1. Using the Embed Form Button:
This method allows you to embed the form quickly and easily. You can find the “Embed” button in the Form Editor.
2. Using the Gravity Forms Block in the Gutenberg Editor:
Add the Gravity Forms block directly from the Gutenberg editor when editing a specific page or post.

3. Using a Shortcode:
Generate a shortcode using the Embed button or create it manually, and then paste it into any post, page, or widget on your site.
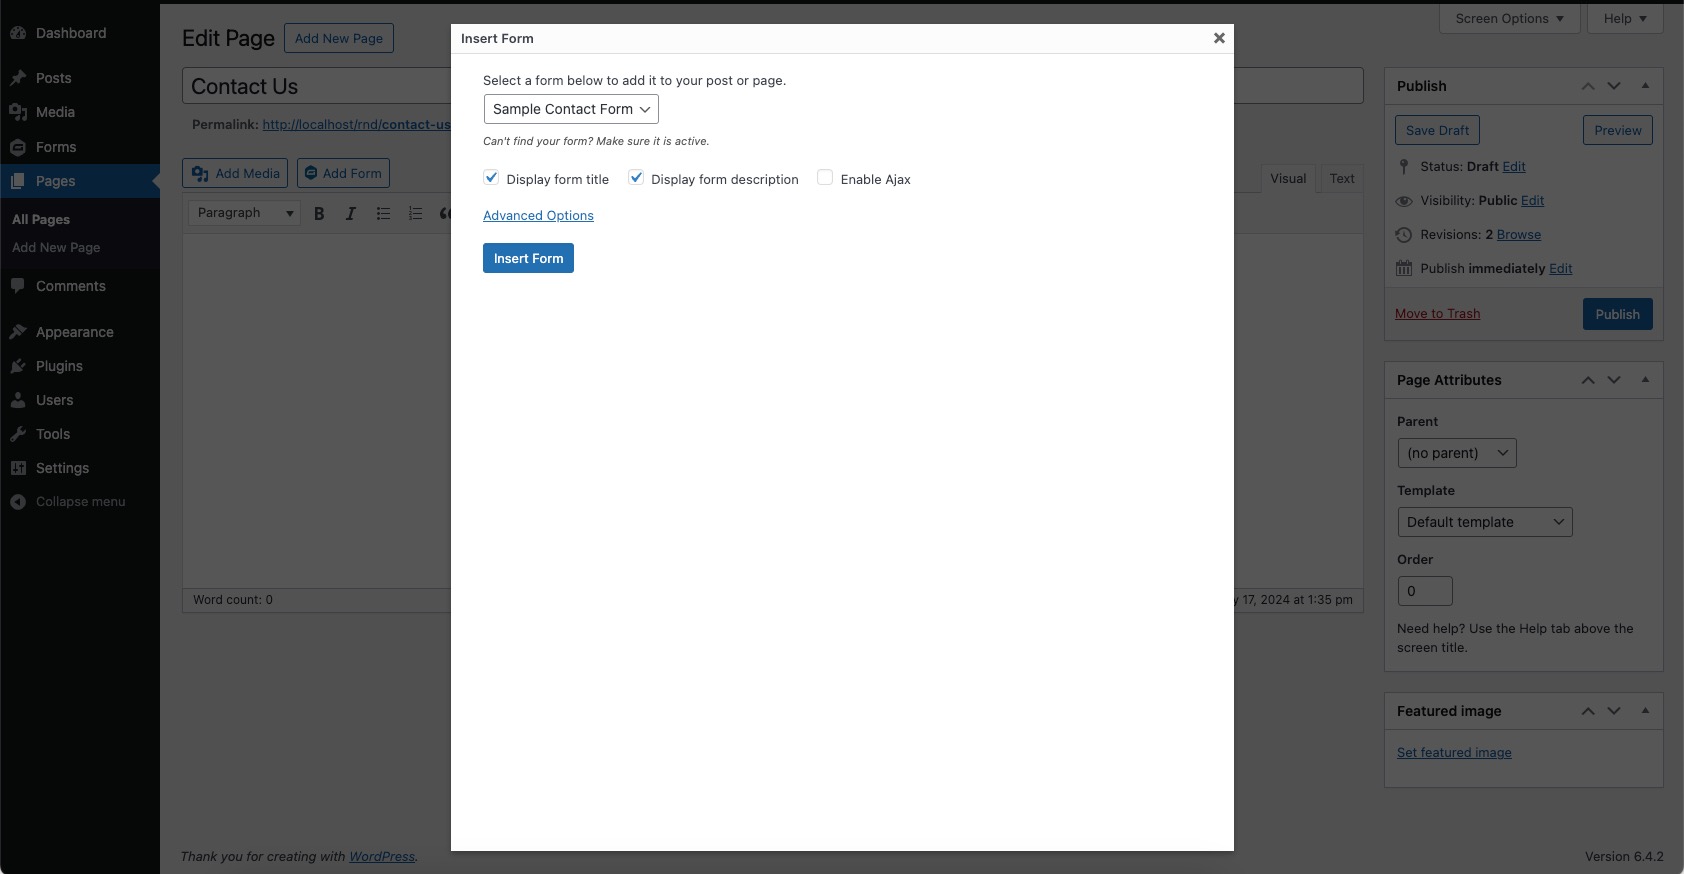
4. Using the WordPress Classic Editor:
Use the Add Form button in the Classic Editor to embed your form.

5. Using Alternative Page Builders:
In a page builder like Elementor, you can add form through shortcode or use the dedicated Form widget included with Gravity Forms or third-party Gravity Forms widgets.
6. Embedding a Form Using Hooks:
For advanced users, embed a Gravity Form into your WordPress site using theme files or hooks. This requires knowledge of PHP and WordPress development.
How to Use Advanced Features in Gravity Forms
With Gravity Forms, you have virtually unlimited customization opportunities. Here’s how you can leverage its advanced features. You can use:
- Multi-page Forms: Create forms with multiple pages and a progress indicator. It can be particularly beneficial for e-commerce websites.
- Payment Integration: Set up forms with add-ons for various payment gateways. Including more than one payment gateway can help you boost conversions.
- Add-ons and Extensions: Use different add-ons for functionalities like quizzes, polls, surveys, and more. Interactive forms like these will boost your user engagement.
Remember, each method offers different levels of customization and integration. You can decide which best suits your needs and set up your form accordingly.
How Much Does Gravity Form Cost?
Currently, Gravity Forms offers three annual plans.
1. Basic License
The basic license starts at $59 per year. It is a perfect solution for personal projects where you handle only one website. You’ll get access to a visual form builder and basic add-ons. It’s best suited for small websites, blogs, and standalone websites.
2. Pro License
The pro license comes with standard support. You can use it for up to three websites. So, it’s best suited for small businesses and solopreneurs, especially those with multiple websites. You can purchase it for $159 per year.
3. Elite License
With the elite license, you get unlimited access to the full suite of features and add-ons. You also get priority support, webhooks, advanced automation, and more. It’s best suited for medium or large businesses with multiple websites. It will cost you $259 per year.
Conclusion
Whether you need a simple contact form or a complex survey, Gravity Forms can help you achieve your goals and meet your users’ needs. It is secure, user-friendly, and feature-rich, and it can integrate with many popular services and platforms.
Looking to hire Gravity Form expert to create and manage Forms for your WordPress projects? We offer White Label WordPress Development services for digital marketing agencies. Get in touch with experts now!


With 15 years in the industry, his expertise spans HTML5, CSS3, jQuery, PHP, and open-source platforms like Magento, Opencart, and WordPress. He leads a dedicated team of designers, developers, and artists to deliver innovative solutions for a range of projects. Ajay's focus is on helping agencies establish a strong online presence through quality design, branding, and development.
When he is not coding, he enjoys traveling, reading, and watching movies.